

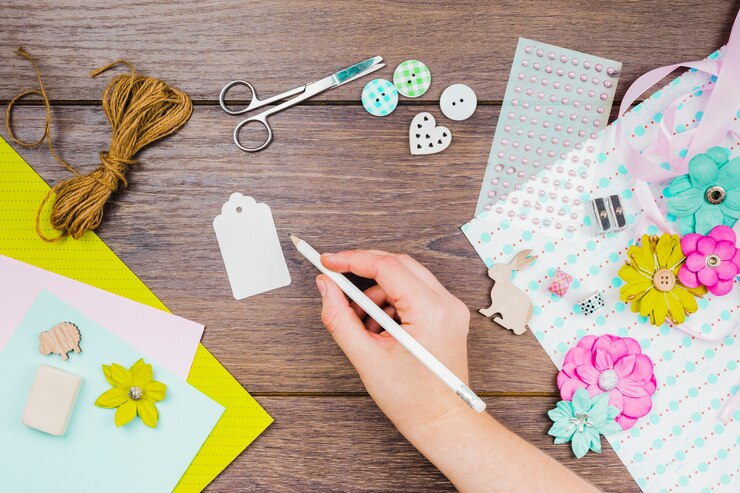
Creating handmade cards is a timeless craft that combines creativity, precision, and a personal touch to make truly memorable gifts for friends and loved ones. Whether you’re new to card-making or a seasoned crafter looking for fresh ideas, using high-quality stamps and embossing folders can add unique texture and depth to your projects.
Inloveartshop offers an impressive range of these essential tools that can help you create beautiful, professional-looking cards with ease. In this step-by-step guide, we’ll show you how to use Inloveartshop’s stamps and embossing folders to craft stunning cards that stand out.
Step 1: Gather Your Materials
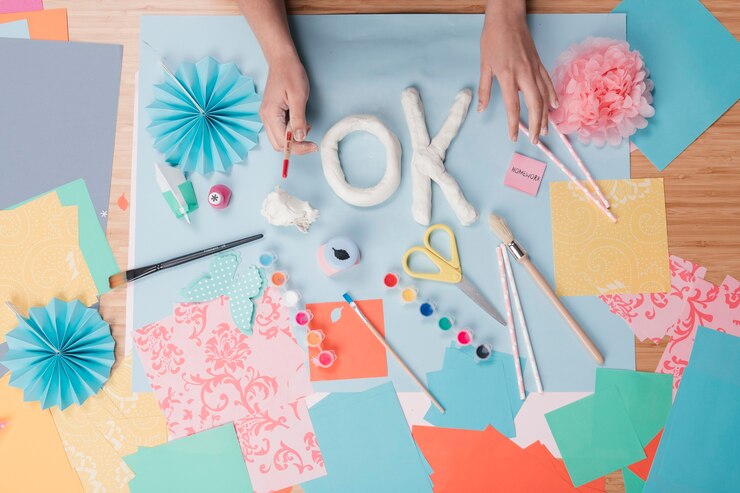
Before starting your card, ensure you have all the necessary materials:
- Cardstock: Choose your base color or pattern.
- Inloveartshop Stamps: Select stamps that match your theme (e.g., birthday, holiday, thank you).
- Inloveartshop Embossing Folders: Choose a design that complements your card’s theme.
- Ink Pads: Water-based or pigment ink in colors that contrast or complement your card.
- Embossing Machine: Ensure it’s compatible with your embossing folders.
- Acrylic Block: For mounting your clear stamps.
- Adhesive, Scissors, Embellishments: Optional, for added detail.
Step 2: Choose and Cut Your Card Base

Start by choosing a high-quality piece of cardstock that will serve as the base for your card. You can opt for plain or patterned cardstock depending on your design idea. Cut the cardstock to your preferred size—typically, a standard card size is 4.25″ x 5.5″ (A2), but you can adjust the size depending on your design.
Step 3: Emboss the Background
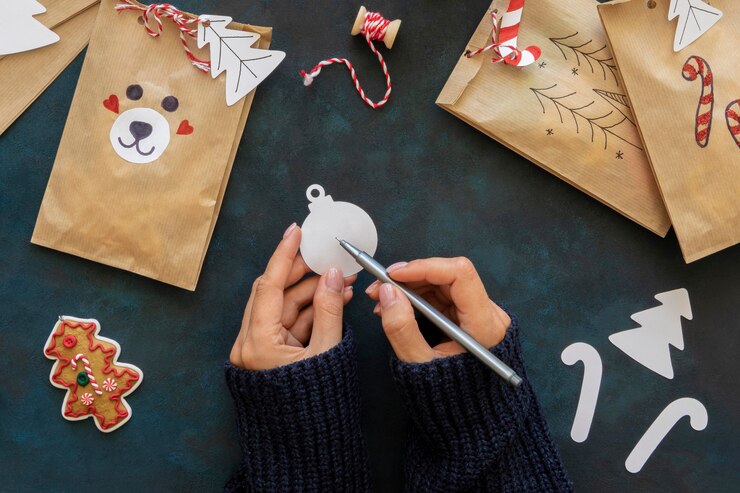
Embossing adds texture and elegance to your card’s background. Select an embossing folder from Inloveartshop that complements the theme of your card, such as florals, geometric patterns, or festive motifs. Here’s how to use the folder:
- Place your piece of cardstock inside the embossing folder.
- Run it through your embossing machine according to the machine’s instructions.
- Once the embossing is complete, gently remove the cardstock to reveal a raised, textured pattern.
Pro Tip: For extra visual impact, you can lightly brush an ink pad over the embossed area to highlight the texture and create a subtle color contrast.
Step 4: Stamp Your Design

Stamps are a fantastic way to personalize your cards with specific messages or images. Inloveartshop offers a wide variety of stamps, from floral patterns and intricate borders to phrases like “Happy Birthday” or “Thank You.” Follow these steps to stamp your card:
- Mount your chosen stamp onto an acrylic block.
- Lightly press the stamp onto your ink pad, ensuring that the entire surface is covered with ink.
- Position the stamp over your cardstock and press down firmly to transfer the design.
- Lift the stamp carefully to avoid smudging.
Pro Tip: If you want to create a layered effect with your stamps, start with lighter colors first and work your way to darker ones. Use masking tape or paper to cover certain areas if you want to stamp overlapping designs without mixing colors.
Step 5: Add Depth and Detail with Layered Stamping or Heat Embossing (Optional)
For added detail, consider using layered stamping techniques or heat embossing. Inloveartshop’s stamps are perfect for layering, as they offer sets with multiple elements that build on each other to create detailed images.
- Layered Stamping: Use different shades of ink to stamp multiple layers of the same design, such as a flower or geometric shape, to add depth and complexity to your card.
- Heat Embossing: After stamping your design, sprinkle embossing powder over the ink, tap off the excess, and use a heat gun to melt the powder, creating a glossy, raised effect. This technique works wonderfully for text or intricate designs.
Step 6: Assemble the Card

Now that you have your embossed background and stamped design, it’s time to assemble your card. Here’s how:
- Attach the embossed piece of cardstock onto your card base using adhesive or foam tape for a 3D effect.
- Place your stamped elements onto the card. You can either glue them flat or use foam tape for added dimension.
Pro Tip: Experiment with arranging your elements in different layouts before adhering them to the card to find the most visually appealing composition.
Step 7: Embellish (Optional)

To give your card an extra special touch, consider adding embellishments such as:
- Ribbons or Twine: Tie a bow around the card for a finishing touch.
- Sequins, Gems, or Enamel Dots: Add sparkle and texture to highlight certain areas of the card.
- Die-cut Elements: Inloveartshop’s die-cut sets can provide additional shapes or borders to frame your card’s main design.
Step 8: Personalize the Inside
Don’t forget to decorate the inside of your card as well! You can stamp a sentiment, write a heartfelt message, or even add a small embossed or stamped detail for continuity from the front of the card.
Step 9: Finish and Package
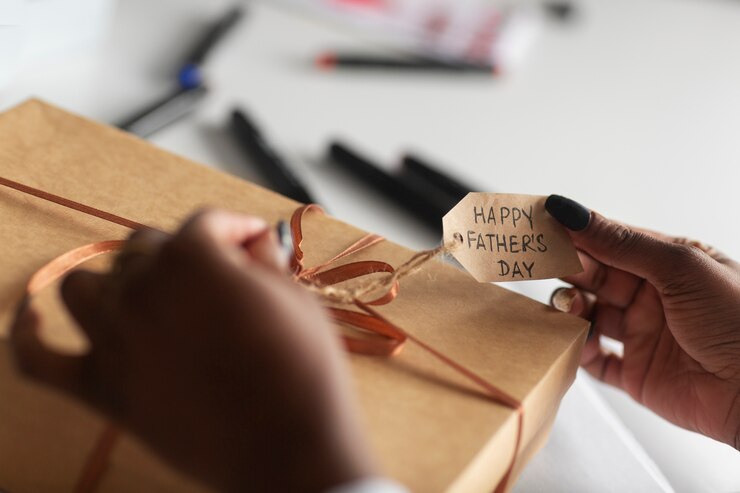
After all the elements are in place, allow any adhesives or ink to dry completely. Once dry, your card is ready to be packaged in a matching envelope or gifted directly.
Creating stunning handmade cards doesn’t have to be complicated. With Inloveartshop’s high-quality stamps and embossing folders, you can craft cards that are not only beautiful but also personal and unique. By following this step-by-step guide, you can master the art of card-making and impress your friends and family with one-of-a-kind creations that leave a lasting impression.
Whether you’re crafting for birthdays, holidays, or just because, Inloveartshop’s versatile products make it easy to turn your creative ideas into professional-looking cards. Happy crafting!